Use our guide to help you get connected to Snowflake faster
When adding a new pipeline, the user will first select the destination where the data is to be loaded. This guide is specific to setting up Snowflake as a destination.
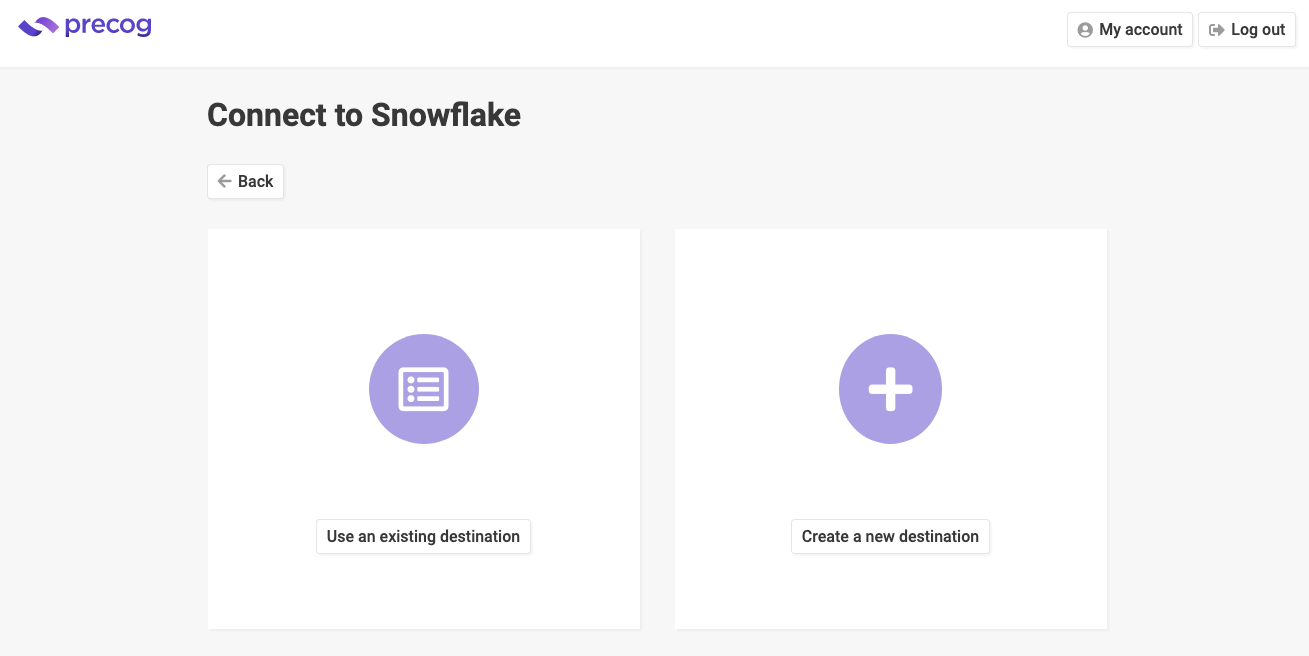
1. Click on Snowflake for the destination

2. Click on “Create a new destination”
Navigate to your Snowflake dashboard and create a new worksheet as shown in the top right hand corner

In the worksheet, paste the snippet of code found in Precog and run 3 lines at a time

Once completed, please add the account name in Precog found in your snowflake dashboard - you can access it by clicking the downward facing arrow in the bottom left of your Snowflake dashboard then copying the account URL found by clicking on your Snowflake instance

Your completed form should look similar to the one found below

You're done! Click “Create destination” and continue creating your pipeline.